Measuring the Wind Lesson Video:
Lesson Plan:
*You can use the document in the link below to either: tailor the experiment to your needs or to have a printable version of this lesson plan*
Google Doc of Measuring the Wind Lesson Plan
The plan is editable and printable. Copy the Google Doc in your own drive and make edits or you can just print.
Overview:
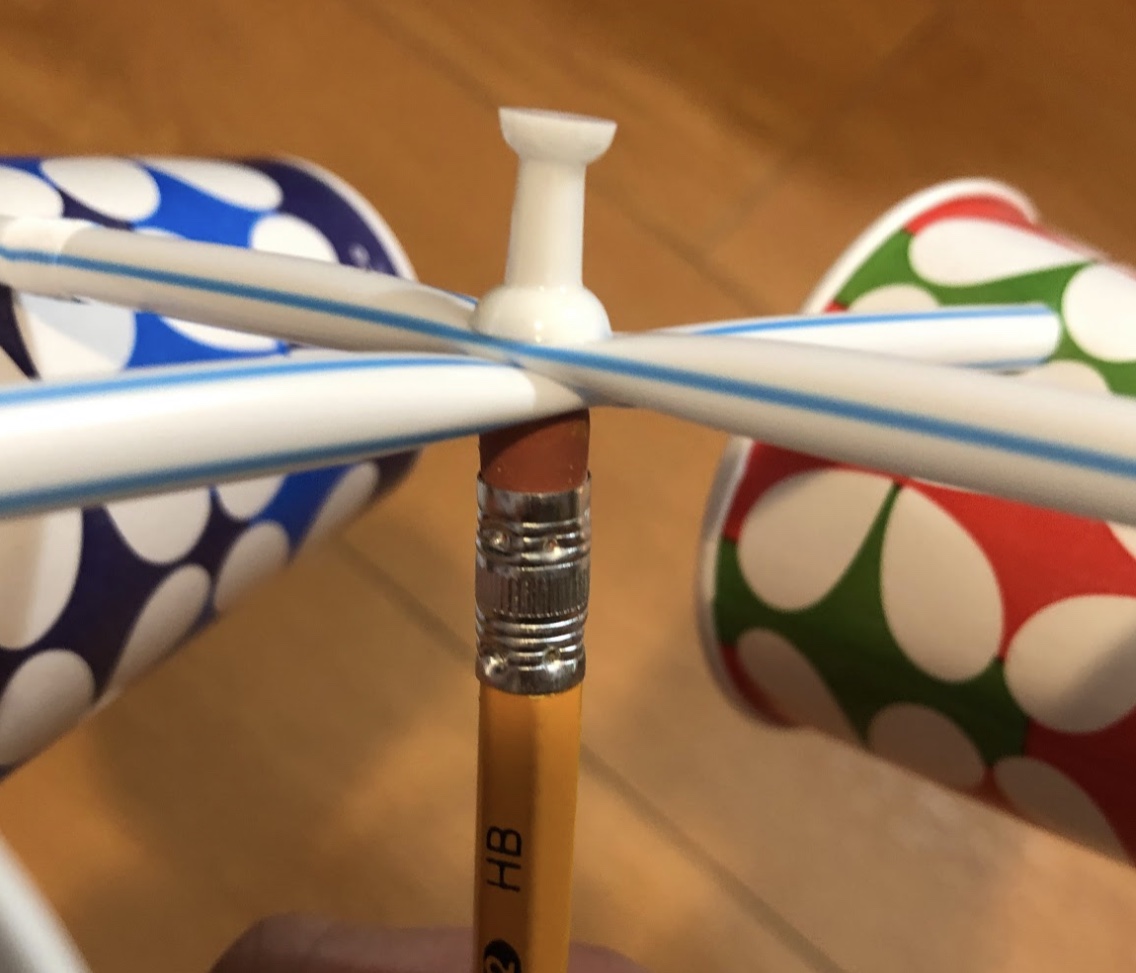
Students will learn how to make their own anemometer. A device used to measure wind speed and is commonly used in science, aerospace, and weather-related fields. The experiment will allow students to create their own anemometer from common household items and then take their newly created device to roughly measure the outside wind speed during a windy day.
Learning Objectives:
- Build and create their own anemometer to measure wind speed.
- Test and analyze the wind speed in their current environment.
- Observe and identify any factors that may affect wind speed, such as location, structures, and weather.
Alignment with NGSS (Next Generation Science Standards)
| MS-ESS2-5. | Collect data to provide evidence for how the motions and complex interactions of air masses result in changes in weather conditions |
|---|---|
| MS-PS4-2. | Develop and use a model to describe that waves are reflected, absorbed, or transmitted through various materials. |
Logistics:
STEAM Subjects:
Science (Chemistry), (Environmental), and Art
Science Vocabulary:
Air Resistance, Airspeed, Force, Drag.
Time:
45 min – 60 min
Materials Needed:
Demonstration Materials:
- Straws
- Small Paper Cups
- Pencil with Eraser
- Thumbtack
- Hole Punch
- Area with some wind (beach or a valley)
- Area with no wind (inside building, surrounding building)
Special Thank You to Our Funding From:


